Homemade Chocolates: The Art of Creating Unique Sweet Treats
Create homemade chocolates It's not just a culinary activity, but a sensory journey that combines creativity, precision, and passion.
Announcements
In a world dominated by industrial products, artisanal chocolates represent a return to origins, a way to celebrate authentic and personalized taste.
But why choose to make your own chocolates when supermarket shelves are overflowing with ready-made options?
The answer lies in the ability to control every aspect: from the quality of the ingredients to the experimentation with unique flavors, to the satisfaction of offering a gift made with your own hands.
Furthermore, making chocolates at home allows you to explore combinations that are rarely found in commercial products.
Announcements
Homemade chocolates
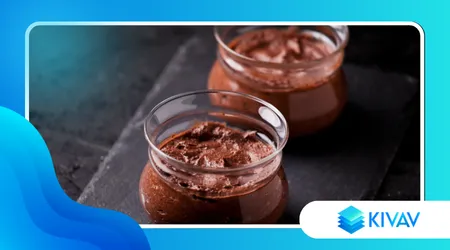
Let's think about a chocolate dark chocolate with a pistachio cream center and a pinch of sea salt, or a milk praline infused with matcha tea and candied ginger.
These are not just sweets, but small works of art that tell a story, yours.
The versatility of chocolate, combined with the freedom of customization, makes this practice a unique experience, capable of transforming a simple moment in the kitchen into an act of creativity.
Finally, let's not underestimate the emotional aspect: making homemade chocolates means dedicating time and care to something special.
Whether it's for a special occasion or a simple gesture of affection, a handmade chocolate conveys a message of care and authenticity.
According to a survey conducted by Nielsen in 2023, 681% of Italian consumers prefer artisanal food products for their perceived value and the emotional connection they generate.
++ Chantilly Cream Mille-feuille: A Masterpiece of Sweetness and Refinement
So why not immerse yourself in this sweet adventure?
The benefits of making homemade chocolates
First, create homemade chocolates guarantees total control over the ingredients.
In an age of growing food awareness, choosing high-quality chocolate, free from additives or preservatives, makes all the difference.
For example, choosing a dark chocolate with at least 701 tbsp of cocoa not only enhances the flavor, but also provides health benefits, thanks to the natural antioxidants present in cocoa.
Additionally, you can avoid refined sugars or low-quality vegetable oils, often found in industrial products.
++ Red Wine Biscuits: A Journey Through Taste and Tradition
Second, customization is an unmatched advantage.
Have you ever thought about how limiting it is to choose from the standard flavors of a store?
When making your own chocolates, you can experiment with local or exotic ingredients, such as lavender from Provence, Italian chestnut honey, or even a touch of Calabrian chili pepper.
An original example could be a milk chocolate with a bergamot cream filling, which combines the velvety sweetness of chocolate with a citrus note typical of Southern Italy.
This creative freedom is priceless and makes each chocolate a unique expression of your taste.
Finally, there is an economic aspect that should not be overlooked.
While the initial investment in quality equipment and ingredients may seem high, making chocolates at home is more cost-effective in the long run than purchasing high-end artisanal products.
Furthermore, the process becomes a relaxing and rewarding activity, similar to painting a picture or composing a melody.
Creating chocolates is like weaving a canvas: each layer, each flavor, contributes to a final work that is greater than the sum of its parts.
The essential tools to get started
To embark on the adventure of homemade chocolates, it is essential to equip yourself with the right tools.
You don't need a professional kitchen, but some specific accessories make the process smoother.
For example, a kitchen thermometer is essential for tempering chocolate, a crucial step in achieving a glossy finish and crunchy texture.
Without precise temperature control, the chocolate risks becoming cloudy or grainy, compromising the final result.
Furthermore, silicone or polycarbonate molds are precious allies.
The former are flexible and easy to use for beginners, while the latter, more rigid, guarantee perfect shapes and are preferred by professionals.
Another useful tool is an angled spatula, perfect for spreading chocolate into molds or creating decorations.
Don't forget a steel bowl for the bain-marie, which allows you to melt the chocolate evenly without burning it.
Here is a table with the essential tools and their uses:
| Instrument | Usage | Average cost (EUR) |
|---|---|---|
| Kitchen thermometer | Temperature control for tempering | 10-20 |
| Silicone molds | Creating shapes for chocolates | 5-15 |
| Angled spatula | Chocolate distribution and decoration | 5-10 |
| Bain-marie bowl | Uniform melting of chocolate | 8-15 |
| Sac à poche | Precise filling of molds | 3-10 |
With these tools, you're ready to transform your kitchen into a little chocolate laboratory.
The key is to start with simple, quality equipment, then expand your collection as you gain experience.
Basic techniques for perfect chocolates

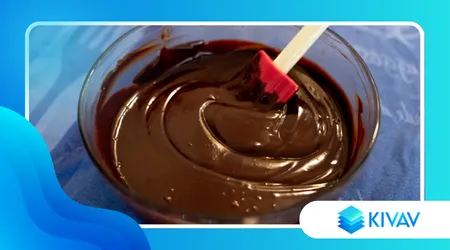
To get homemade chocolates of quality, tempering is the first step to master.
This process involves heating and cooling the chocolate to specific temperatures to stabilize the cocoa butter crystals, ensuring a smooth texture and shiny appearance.
For example, for dark chocolate, it is melted at 45-50°C, cooled to 27°C and brought back to 31-32°C.
A common mistake is to skip this step, but without tempering, the chocolates may turn out cloudy or melt too easily.
Another fundamental technique is the creation of fillings.
Here, creativity knows no bounds: you can prepare ganache, pralines, or nut-based creams.
An original example could be a white chocolate ganache with a rosemary and lemon infusion, which combines creamy sweetness with a fresh herbaceous note.
To make it, heat the cream with lemon zest and rosemary sprigs, filter, and mix with melted white chocolate.
Pour the mixture into the molds and let it solidify: the result will be an explosion of flavors.
Finally, don't neglect presentation. A well-decorated chocolate is a feast for the eyes as well as the palate.
Use edible gold leaf, toasted hazelnut crumbs, or a pinch of fleur de sel to add a sophisticated touch.
The presentation is like the curtain in a theater: it prepares the audience (or recipient) for an unforgettable experience.
What feeling do you want to convey with your chocolates: elegance, boldness, or comfort?
Tips for choosing the right ingredients
The quality of the ingredients is the heart of the homemade chocolates.
Choosing a chocolate with a controlled origin, such as a single-origin dark chocolate from Peru or the Ivory Coast, can transform a simple chocolate into a masterpiece.
These chocolates offer complex flavor profiles, with notes ranging from fruity to earthy, and are free from artificial additives.
Always read the label: a good chocolate contains only cocoa, cocoa butter, sugar and, sometimes, soy lecithin as an emulsifier.
Also, consider complementary ingredients.
Dried fruits, spices, and natural flavors must be fresh and high-quality to enhance the chocolate without overpowering it.
For example, use home-roasted walnuts for a more intense flavor or bourbon vanilla for a warm, enveloping aroma.
Avoid pre-packaged products or artificial essences, which can give off a chemical aftertaste.
Choosing the right ingredients is an act of respect for your work and for those who will taste your chocolates.
Finally, think about sustainability.
Opting for Fairtrade or organic certified chocolate not only guarantees a quality product, but also supports producers and the environment.
In 2024, 451 TP3T of Italian consumers said they preferred sustainable food products, according to a report by Coldiretti.
Choosing ethical ingredients isn't just a trend, but a way to contribute to a fairer food system.
Frequent questions about homemade chocolates
| Request | Answer |
|---|---|
| Can I use supermarket chocolate? | Yes, but choose quality chocolate with at least 601 tbsp cocoa solids for optimal results. Avoid products with added vegetable fats. |
| How long do chocolates keep? | Stored in an airtight container in a cool, dry place, they last up to 3-4 weeks. Fresh fillings (e.g., cream) last less than 1-2 weeks. |
| Do you need a refrigerator for tempering? | No, tempering is done by checking the temperature with a thermometer. The refrigerator can be used to harden the chocolates after filling. |
| Can I make chocolates without molds? | Yes, you can make pralines by hand or use ice cube trays, but molds provide more precise and professional shapes. |
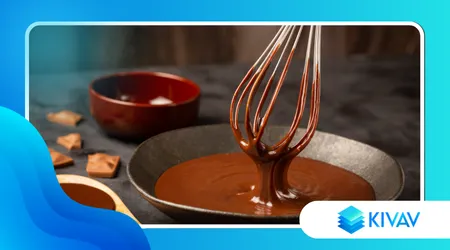
| What's the best way to melt chocolate? | Use a double boiler on low heat or microwave in 20-second intervals, stirring often to prevent burning. |
Conclusion: An art within everyone's reach
Prepare homemade chocolates It's much more than just a culinary activity: it's a way to express creativity, share emotions, and rediscover the pleasure of creating something with your own hands.
Whether you're a beginner or an expert, each chocolate tells a unique story, made of carefully chosen ingredients, patiently honed techniques, and a pinch of boldness.
There's no limit to the combinations you can explore, from classic flavors to more innovative ones.
Plus, the process itself is a rewarding experience.
Every step, from tempering to decorating, allows you to connect deeply with the food, transforming simple ingredients into small works of art.
Isn't this true luxury: creating something unique in a world of standardization?
Start today, experiment, fail, and try again: your next chocolate could be the masterpiece you never knew you could create.
Finally, don't forget the social aspect. Giving handmade chocolates as a gift is a heartfelt gesture, a way to say "I was thinking of you" without words.
With a few tools, quality ingredients, and a little creativity, you can transform your kitchen into a sweet laboratory.
So, what are you waiting for to dive into the world of homemade chocolates?